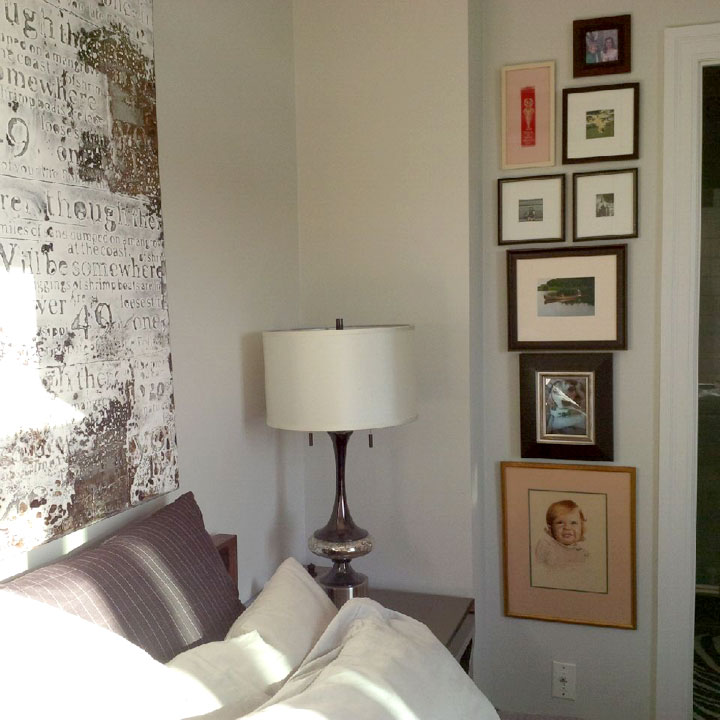
A great way to incorporate all of the art, pictures and posters you have collected over the years is with a gallery wall. This is a style of displaying framed work that lends itself to an eclectic feeling.
Choose your wall
Before you start, you need to choose your wall. The size of the gallery you want to create really depends on how much room you have. This wall should be large enough to place several photos on and at a spot where it can be shown off and admired.
Positioning the pieces
Now it is time to select how to position these beautiful pieces! The secret of a gallery wall is to break the rules. This means mixing and matching the various shapes so they are all hung at different heights, but still fit together.
Make sure to lay all of your frames out on the floor and arrange them the way you would like to see them on your wall. Once you are completely happy with how they look on the floor, using painters tape and recreate the same arrangement on your wall. This way, if it is not perfect, you have the opportunity to fix or rearrange before you make any holes in your walls.

Measure and centre
Depending on the situation, a gallery wall often looks best, centered on a wall. If it is going in the centre of your wall, make sure to measure how long the wall is and hang the centre of the middle frame on that point. From there, you can continue with the design you have created.
Frames and hanging
The next step is to start hanging your framed work on the wall. It is often easiest to work from left to right, top to bottom. This way, you aren’t bumping too much into the piece you just hung. Another good idea to prevent a crowded work area is to remove the piece once you have put in the nail and made sure it is at the proper height before moving onto the next.
Now that you are ready to put hammer to nail, check how your frames need to be hung. If the frames have a wire to hang from, make sure you measure from the top of the picture to where the nail will sit so that it hangs exactly where you want it. This needs to be done with every frame to make sure that no matter where the nail needs to be positioned, it hangs where you envisioned it.

Level your artwork
Once you have hammered in all of the nails, put all of your artwork on the wall and make sure you are happy with exactly the way it looks. The next step is to take a level and put it across the top of the frame. Take a little bubble of painters tape and hide it right behind the center of the bottom of the frame. Once the level on the frame is perfect, press the part with the tape firmly into the wall. This will stop the frames from shifting over time, making the display look messy.
Take it all in
Now that you have completed your gallery wall, stand back and take it in! This can be such a beautiful way to display anything framed. The best part is that as your collection of artwork grows, you can easily add onto the display without disrupting the flow.